Tkinter Tutorial Python Pdf Library
BASIC WINDOW The first step in any Tk program is to import the Tkinter module itself. By importing the Tk module you create a path inside of your program that can now reference the Tk folder created upon installation of Python. This allows for use of any of the prewritten modules or widgets in the Tk library. • Tkinter is Python’s default GUI library. It is based on the Tk toolkit, originally designed for the Tool Command Language (Tcl). Due to Tk’s popularity, it has been ported to a variety of other scripting languages, including Perl (Perl/Tk), Ruby (Ruby/Tk), and Python (Tkinter). Resident evil 1 iso psx.
 In this tutorial, we will learn how to develop graphical user interfaces by writing some Python GUI examples using the Tkinter package. Tkinter package is shipped with Python as a standard package, so we don't need to install anything to use it.

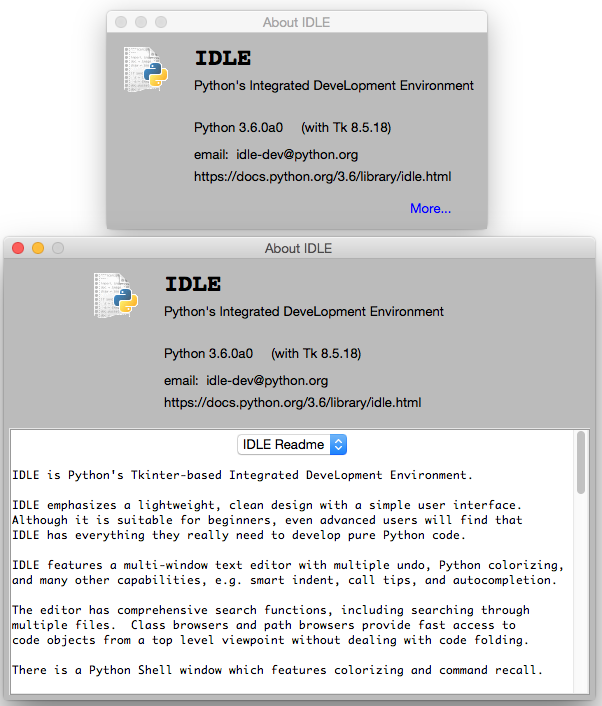
Tkinter is a very powerful package. If you already have installed Python, you may use IDLE which is the integrated IDE that is shipped with Python, this IDE is written using Tkinter. Sounds Cool!! We will use Python 3.6, so if you are using Python 2.x, it's strongly recommended to switch to Python 3.x unless you know the language changes so you can adjust the code to run without errors. I assume that you have a little background in the to help you understand what we are doing. We will start by creating a window to which we will learn how to add widgets such as buttons, combo boxes, etc. Then we will play with their properties, so let's get started.
Create Your First GUI Application First, we will import THE Tkinter package and create a window and set its title: from tkinter import * window = Tk() window.title('Welcome to LikeGeeks app') window.mainloop() The result will look like this: Awesome! Our application works. The last line calls the mainloop function. This function calls the endless loop of the window, so the window will wait for any user interaction till we close it. If you forget to call the mainloop function, nothing will appear to the user.
Create a Label Widget To add a label to our previous example, we will create a label using the label class like this: lbl = Label(window, text='Hello') Then we will set its position on the form using the grid function and give it the location like this: lbl.grid(column=0, row=0) So the complete code will be like this: from tkinter import * window = Tk() window.title('Welcome to LikeGeeks app') lbl = Label(window, text='Hello') lbl.grid(column=0, row=0) window.mainloop() And this is the result: Without calling the grid function for the label, it won't show up. Set Label Font Size You can set the label font so you can make it bigger and maybe bold.
You can also change the font style. To do so, you can pass the font parameter like this: lbl = Label(window, text='Hello', font=('Arial Bold', 50)) Note that the font parameter can be passed to any widget to change its font, thus it applies to more than just labels. Great, but the window is so small, what about setting the window size? Setting Window Size We can set the default window size using the geometry function like this: window.geometry('350x200') The above line sets the window width to 350 pixels and the height to 200 pixels. Let's try adding more GUI widgets like buttons and see how to handle button click events. Adding a Button Widget Let's start by adding the button to the window.
The button is created and added to the window in the same way as the label: btn = Button(window, text='Click Me') btn.grid(column=1, row=0) So our window will be like this: from tkinter import * window = Tk() window.title('Welcome to LikeGeeks app') window.geometry('350x200') lbl = Label(window, text='Hello') lbl.grid(column=0, row=0) btn = Button(window, text='Click Me') btn.grid(column=1, row=0) window.mainloop() The result looks like this: Note that we place the button on the second column of the window, which is 1. If you forget and place the button on the same column which is 0, it will show the button only, since the button will be on the top of the label.